Loreal True Match Review and More!


Hi guys! Here’s a short review on a couple of Loreal’s products that are pretty new in the market. I’m also sharing some of the photos from the event they held for the launch of these products a couple of weeks ago! It was held in Farmacy at the Fort so of course I couldn’t say no to makeup AND ice cream!

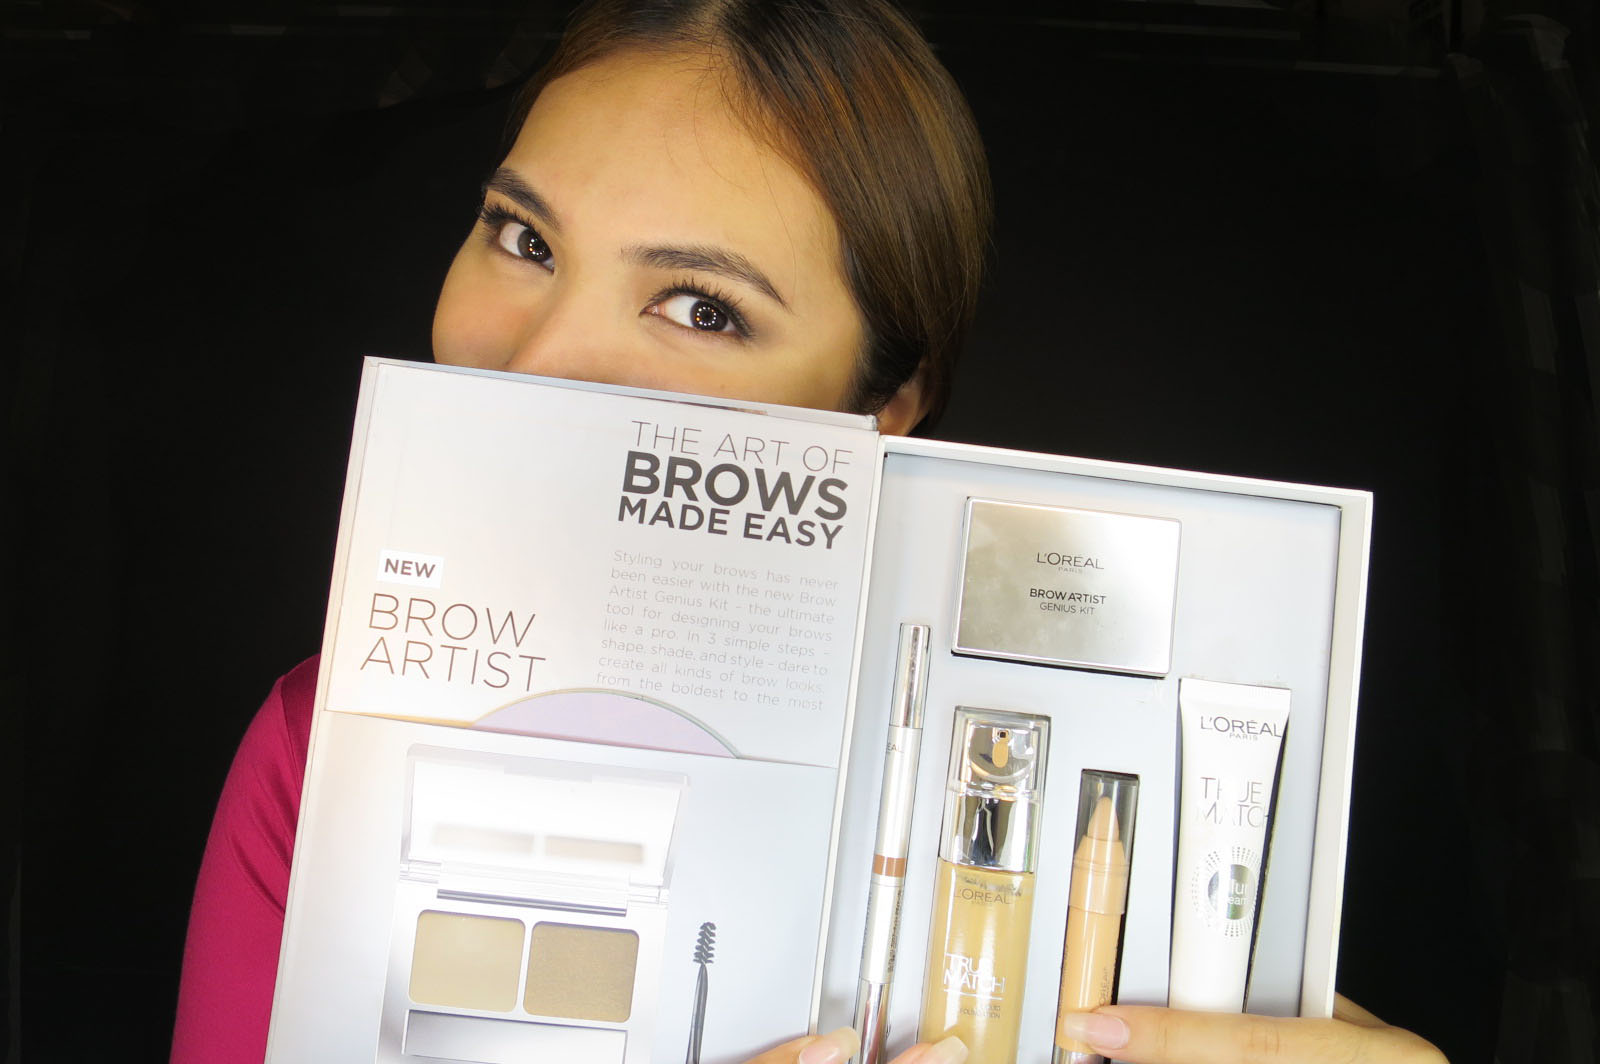
So here are the products I'll be reviewing! For the event, we were given a box without any products yet, and each person had to visit the different stations they set up in order to pick out our perfect shades! Each box contains one Brow Artist Genius Kit, Brow Artist Designer Pro Pen, True Match Liquid Foundation, True Match Crayon Corrector, and their True Match Blur Cream!
Starting out with the True Match Blur Cream, this product was formulated to act kind of like photoshop in a tube for flawless looking skin by smoothing out your skin and even minimizing the appearance of pores. It also doubles as a makeup primer and controls oil so that your makeup can stay fresh longer.
I had no products on my skin before trying this product, I just did my eye makeup and lips! It's texture reminds me of a lighter version of Benefit's Porefessional, but it does have an orangey tint to it that isn't noticeable once your spread it on your skin.
The product goes on evenly and doesn't leave a cast over your skin like some primers. It was able to instantly smoothen my skin, but I think it doesn't minimize pores as good as other primers I've tried. Although for the price, it would work as great primer for someone who doesn't really think their pores are a problem. True Match Blur Cream costs Php 400.
Moving on to the True Match Liquid Foundation, this has always been one of my favorite affordable foundations so I was pleased to hear that Loreal made it even better now! During the event, Loreal had their own BUS just for foundation. It was heaven for me haha!
\
Inside the bus were the new and improved bottles of True Match in a wide variety of shades ranging from yellow tones to even some on the pinker side. You're sure to find your perfect shade!
Loreal's Senior Makeup Artist and beauty expert was also there to extend her help so you can find your true match of...True Match. She was a little challenged with my skin tone cause a couple of shades blended perfectly with me! In the end, we both decided on G4 Gold Beige.
To apply the True Match Liquid Foundation, I used a damp Beauty Blender. I did notice a major difference with the new True Match: it now has some shimmering particles in it. This would be great for photo shoots, but personally, I'm not a fan of foundations that shimmer. Although it doesn't shimmer too much, I still would prefer if it didn't have the shimmering particles just because it can look a little too fake in person. I've said this before and I'll say it again, I like skin to look like SKIN and unless you're a vampire from the Twilight saga, real skin shouldn't sparkle!
But if this isn't an issue for you, then I'm pleased to tell you that the foundation is still great! I found out that it now has 5 special micro-pigments that were formulated to specifically match the skin tones of Asians. I would say that the coverage is medium and is pretty buildable if you want more full coverage, but one layer was more than enough to cover my redness and even out my skin tone. It is also SPF16++ for protection, and I found that it doesn't have flashback even if it has SPF.
For Php 600, this foundation is great if you can get past the slight shimmer it has. I was really pleased with how my skin looked and it felt very light as well. If your skin is on the dry side though, I would recommend applying moisturizer beforehand just to be sure it wont cling on to any dry patches.
Next, we have the True Match Super Blendable Crayon Corrector. Like it says in the photo below, "big to small, conceal them all!" This crayon corrector comes in 6 shades and is Php 500.
Here's a closer look! The tip of the crayon was made for more precise spot concealing, while you can use the sides for larger areas.
I applied some of the concealer on my under eye area first and I didn't expect the consistency to be as creamy as it was. It glided on smoothly which is ideal for an under eye concealer so that you don't end up tugging on your delicate eye area too much.
Then I blended it out with my Micro Mini Beauty Blender since this sponge can make any concealer blend like a dream. The coverage was able to cover my dark circles out super well. Unfortunately, I did notice some caking after 2 hours, even if I set the concealer with powder. :( That's why I use this concealer more for spot concealing blemishes on the rest of my face now instead of as an undereye concealer. It does the job almost like my favorite Laura Mercier Secret Camouflage due to its thick consistency and coverage.
So I would recommend this product for those looking for a concealer for things like acne scars and other blemishes, but not really as an undereye concealer because it did cake up on me.

Lastly, we have some brow products from Loreal!
Starting off with the Brow Artist Designer Pro Pen which is a 3-in-1 brow pen for shaping and shading in your brows. Below is a picture of the two ends of the pen, we have a thin pencil on one end, and a spoolie brush on the other.
Then, if you twist the center, you will find the brow powder applicator for shading in your brows. This was the most unique and interesting part of the pencil!
As I always do, I started by brushing my brows to keep them neat, then I used the thin pencil end to lay out the general shape that I want for my brows. I always start with the lower line to add instant definition and so that I know what arch to follow. I really liked the way this pencil drew on my brows. It looked very natural and soft, especially if you blend it out with the spoolie brush. The shade also complemented my brown hair.
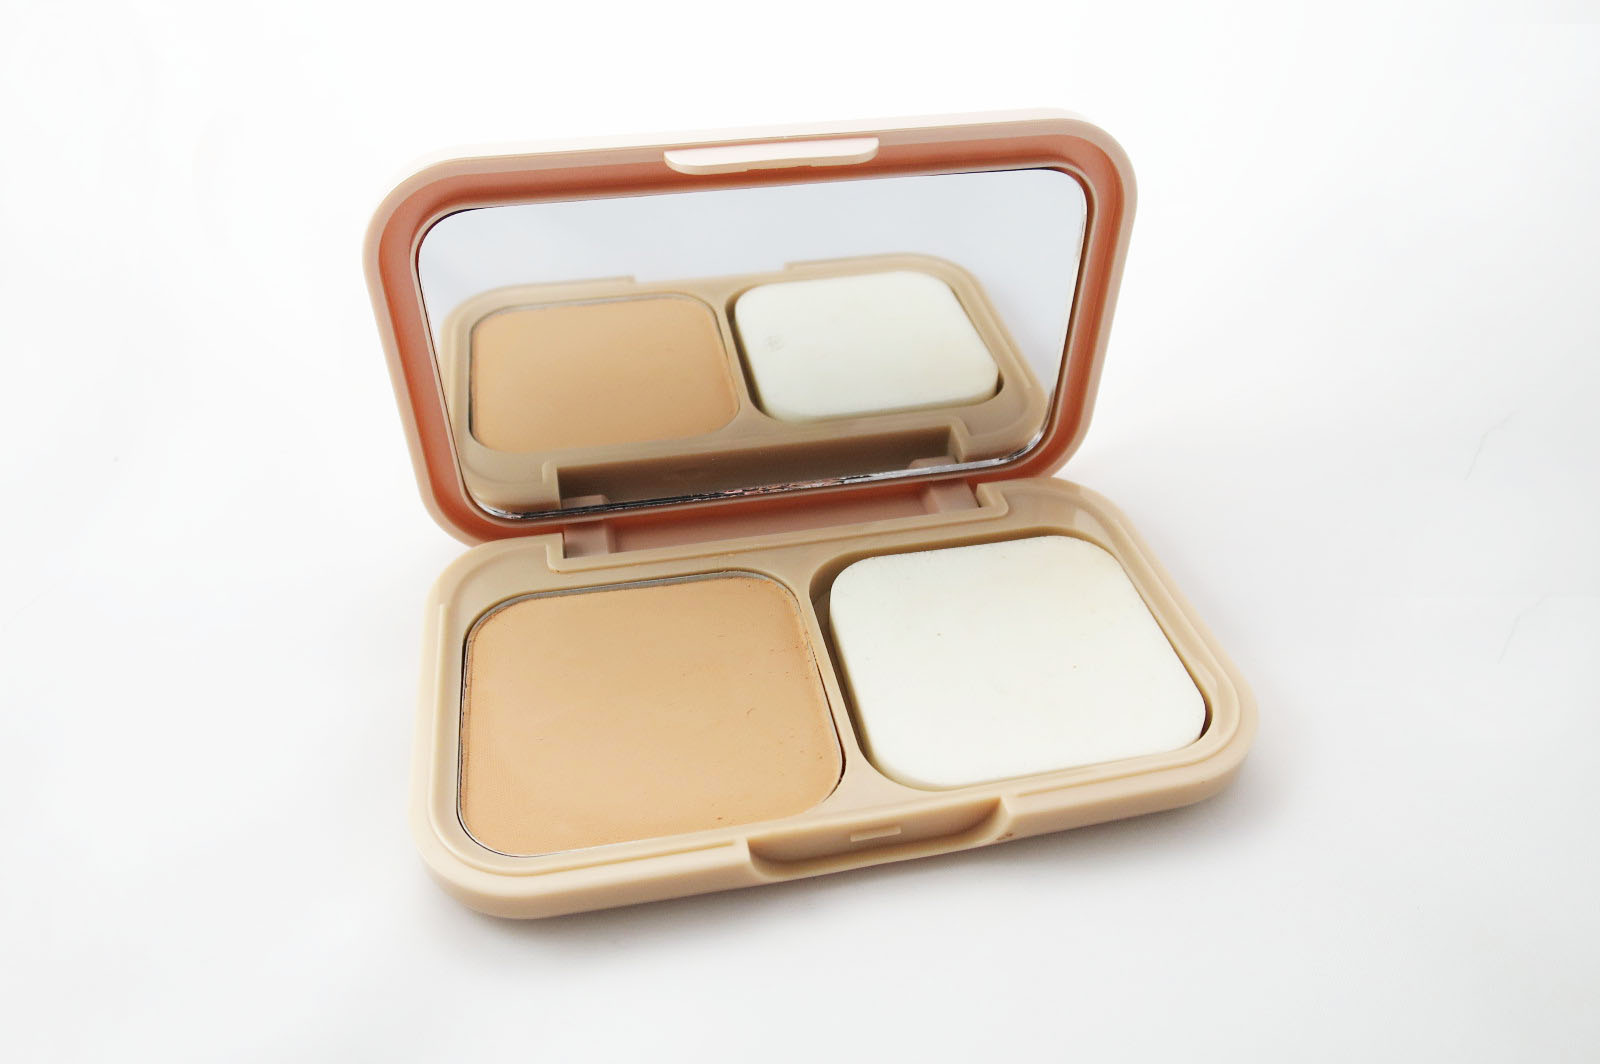
Then I grabbed the Brow Artist Genius Kit, which contains a brow powder, as well as a setting wax to keep you hairs in place, and as well as an angled brush and spoolie brush for applying.
Taking the wax first, I just applied this to the tail of my brows so I could have a crisp and darker tail. Then I set it lightly with the powder. I wasn't too fond of the brush that came with the kit mainly because I couldn't hold it properly with my long nails HAHA, but it did get the job done! Surprisingly, it was easy to draw thin strokes with the brush!
And to finish off the brows, I reached for the Brow Artist pen again, this time using the powder to shade in my brows. The powder was great and even made my brows look more voluminous, but my only comment would be that you should apply it with a light hand because your brows could end up looking too thick if you go overboard with this powder.
The kit costs Php400 while the pen costs Php500.
And here's my finished look! Skin and brows care of Loreal! Overall, I'm really happy with how everything turned out, especially my brows!
Hope you girls find this short review useful and just let me know if you guys have any more questions!

Pack With Me: London Trip!


For this video, I decided to do something a little different from my usual makeup tutorials, reviews, and favorites posts. Since a lot of you guys like to interact with me through Snapchat, I figured I would make this video just as casual as my snaps wahaha. Like I said in the video, I really want my relationship with my readers to get closer and I want you all to see me as your friend that can sometimes double as a walking makeup encyclopedia haha! And if you haven't added me yet, my Snapchat username is Legenczari!

With that being said, this video is just gonna be a short run down of all the products I brought with me to my trip to London last November! I thought I could limit the amount of products I brought with me, but since I had a different makeup peg in mind for every day I was there, I ended up packing a lot more than planned. Oh well! Typical Czari behavior haha!

It's the first part of 3 videos I plan to make about my trip. The second one will be a vlog post about my whole trip, and the third one will be a haul video! Hope you guys stay tuned for those since I'm super excited about them! I'm also sorry this took so long to post cause I had to catch up with a ton of school work and exams when I got back.

Here's the video! Hope you guys enjoy and hope you guys could like and subscribe to my channel!


I would also love to hear your freed back on the video on my ask.fm! That's all for now! Luckily I'm on Christmas break now so expect a ton of late posts huhuhehe :)

October Favorites

Hi guys it’s great to finally be back! I’m really sorry for being so MIA for so long, but it was such a hectic week for me the week I got back from London. And to make things worse, the APEC affected my internet at home so I couldn’t post any of my pending blog entries HUHU. I’m actually at a salon right now as I post this entry. Thank God their internet is fast enough to upload my super duper long overdue October favorites video! Please forgive me for posting it just now. Enjoy and feel free to ask me any questions about any of the products I've mentioned. :)

Stay tuned for a few more videos coming up soon about my London trip and all the makeup I brought!

Here are all the products I've mentioned in the video. Please do like and subscribe!
1. Benefit's Bathina Just Confess, You're Obsessed!
2. Laura Mercier Body Butter in Amber Vanilla
3. Mondes Professional Moroccan Argan Hair Mask with Keratin
4. Benefit's World Famous Neutrals Eye Palette
5. Shu Uemura Brow Sword
6. K Palette Real Lasting Eyebrow 24 Hour Pen
7. Anastasia Beverly Hills Contour Cream Kit
8. MAC Harmony Blush
9. MAC Prep + Prime Fix Plus


Maybelline NYFW Final Entry


As a 4th post for the Maybelline New York Fashion Week competition, they had asked their participants to create a video sharing the following: what Maybelline means to us, some advice on achieving your dreams, and lastly, why we think we should win the NYFW competition! These are all things that I found kind of difficult to explain, especially since you all know how I’ve been starting to have a lot of side comments in my videos lately (lol), but hopefully you guys still enjoy this super short video and hopefully, I got to got to share what Maybelline had asked me to in the best way that I can.
And again, I just wanna give a huge thank you and virtual hug to all of those who have supported me throughout the whole October! Like I said in the video, it was really unexpected, and I was soooo touched.

Stay tuned for a new video real soon! :)


Maybelline NYFW OOTDs


Of course a part of Maybelline’s New York Fashion Week competition was to post something about fashion! Specifically, they had asked their participants to show them what 3 outfits they would bring if they got to win the trip to New York Fashion Week. Doing this post really brought me back to my fashion blogging days, and I had totally forgotten how much it can be both fun and stressful to document OOTDs HAHA! Anyway, I'm now here to share a little more details about each outfit.

P.S. A HUGE thank you to my ate Trina for helping me film this! I think we found your calling sissy!
Below is the video compilation I made of the 3 outfits. I kept it short so I could share it on Instagram!

Outfit 1:


For me, there's nothing more comfortable and yet still chic than an all denim ensemble. It's tricky to pull it off because you need to make sure that the washes of the denim pieces go well together, but when you do find that perfect pairing, it looks amazeballs!

Here I'm wearing a plain denim button down polo with my all-time favorite denim culottes! The culotte trend is something that I really love because they're such an easy article of clothing to dress up or dress down. Not to mention, they are sooo comfortable.

To cut all the denim, I just made use of a simple brown belt and used a pair of heels to add a pop of color. And also, I wore one of my favorite pairs of Sunnies because no look is complete without a fabulous pair of sunglasses!

Outfit 2:


For a look that's a little more dressed up, I opted for this ensemble featuring a bustier, white high-waisted pants, and a black vest as the focal point of the outfit. This look is really easy to dress up or dress down as well, but I went with a classic pair of black pointed heels to keep it in the more dressy side.

As for hair, there are just some looks that pair perfectly with a messy bun, and this was one of those looks. The bun kept everything looking sleek and sharp. It also drew more attention to my favorite pair of Sunnies which I feel like brought the whole look together.

Outfit 3:
There are also days wherein you'll want to prioritize your comfort without having to sacrifice your style. That's why I chose this jumpsuit as my final outfit and paired it with my ever-reliable pair of Chucks! I just find it awesome whenever a girl can pull off an androgynous look while still looking fabulous!

To keep the look still a little feminine, of course I just had to rock a powerful lip with the ensemble! Sometimes a great lip color is all you need. Agree?


So that's all for my New York Fashion Week looks! Hope you guys enjoyed this post and hope you guys continue to show my Maybelline entries some love as well  


Black eye X Cut Lip

If you’re like me who is a major Halloween costume crammer, then you’ll know how stressful it can be to come up with a Halloween costume that you can actually be proud of in a very limited amount of time! Not only that, but we still want to turn heads while exerting minimum effort tsk tsk HAHA.

Well fear not my fellow crammers because I’ve got you covered! It’s my first time filming a Halloween tutorial so I'm really excited to be sharing this video with all of you! It's a super simple tutorial featuring me looking like I've been through hell and back. Once you've gotten a hang of how to make the bruises and cuts, then you can definitely do your own thing with them and go nuts if you want to!

Here's the tutorial! I really do hope you guys enjoy. Don't forget to give it a thumbs up and subscribe! :)
I can assure you guys that no one was hurt in the making of this video HAHA! And please excuse my messy hair! I didn't see the point of fixing it since messy hair would just add to the overall look.
Full list of products:
Dollface Cosmetics Eye Candy Palette
Majolica Majorca Blood On Lip Tint
MAC Dark Side Lipstick
MAC Carbon Eyeshadow
MAC Strawberry Malt Lipglass (from the Archie's Girls Collection)

Let me know what you guys think! Stay tuned for my next Halloween Tutorial!  

MaybellineNYWF Tutorial

Hello again beauties! It’s time to share with all of you my second entry for the Maybelline New York Fashion 
Week contest! I’ve been working really hard for it and I hope you guys could show me some love and support as I post my entries! It would be very much appreciated

For my second post, I’ve filmed a tutorial showcasing this look on the gorgeous Georgina Wilson:
Don't forget to subscribe and like please!

The look made use of neutral shades which is why I'm sure it would look great on everyone! I tried my best to keep it simple for you guys since it is just a very fresh and effortless look that I hope everyone can execute!

The eyes and lips were my favorite parts of the look! The use of brown shades and thick lashes went perfectly with the matte lippy.
  I also did my best to get Georgina's messy waves so you guys could see how I was able to put the look all together.

Let me know what you guys think on my ask.fm! I'd love to hear your comments :)

#MaybellineNYFW


Hey beauties! Here’s a special review I filmed featuring the products from my Maybelline New York Fashion Week kit! Just like many girls out there, Maybelline was the first brand I ever bought my own makeup from. I remember being obsessed with a lot of their products and up to now, they carry some of the best mascaras I've ever tried! So please do check out my video review to find out more about these awesome Maybelline products featured in New York Fashion Week as well as to find out my first impressions on them. I had a lot of fun filming this especially since the products were a dream to work with! The fact that they made it to fashion week says a lot about them! 


Products Featured: 
1. Maybelline White Superfresh Long Lasting UV Cake Powder
2. Maybelline 24 Hour Color Tattoo Eyeshadow
3. Maybelline Lasting Drama Gel Eyeliner & Brush
4. Maybelline Bold Matte Lipsticks

If you like what you see, then feel free to join my Instagram giveaway for a chance to win a gift pack from Maybelline! Simply by follow the instructions on this Instagram post of mine:
I can't wait to pick one lucky winner! Best of luck to you all and stay tuned for a Maybelline-filled October for Legenczari Beauty this month  


Benefit's They're Real Launch

A few weeks back, I was lucky enough to be chosen as one of Benefit’s "Glambassadors" for the new colors they were launching for their They're Real line. I was actually waiting for the official photos from the event to come out, but up to now I haven't seem them. Luckily, I took a bunch of photos on my phone that I can share with you guys! Benefit added blue, green, and purple shades for their super awesome They're Real Push-Up Liners which I was sooo excited about. They also created a brown and a blue version of their famous They're Real mascara. Yup, blue mascara. It's amazeballs.
If you follow me on Instagram, read my ask.fm, or if you've watched my September Favorites Video, then you would know how crazy I am about the push-up liners. I always mention how they're incredibly easy to use and how they are perfect for adding a pop of color to your looks. I really recommend them even for beginners since it comes in the form of a pen which has an Accuflex Tip that is really able to hug your lashes for eyeliner application that is so precise that it seems like a professional did it for you. SWEAR! As for the mascaras, I plan to incorporate them in my Halloween videos this month so that you could see how effective they are. I used the black one for the photo below and as you can see, my lashes look insane!
Anyway, here are some photos from the launch! Below is a photo of the wall that greeted all the guests as they entered the venue. I had no idea they were gonna have our photos wearing the liners framed and set up like this. I was soooo kilig huhuhu. From left to right: Angela Nepomuceno, Nikki Duque, Arisse de Santos, Me, Rima Ostwani, and Janeena Chan!

Here I am with my fellow Glambassadors and Sam Valenciano who took our photos! I was so nervous during the shoot, but Sam and the Benefit team just told me to "imagine you're taking a selfie" and it worked haha! I got over my nerves and I was really happy with how my shots turned out. The event was so much more fun for me because of the other Glambassadors. We all got along so well and couldn't stop laughing. And eating. I love these girls! We also had lots of fun activities to do care of Mystery Manila!

Benefit also collaborated with FreshLook Contact Lenses so that you could really get your eyes to pop by combining the different colors of the lenses and liners together. I wore amethyst lenses which went perfectly with the push-up liner in the shade Beyond Green. I always love it whenever I get to wear contacts cause they somehow make any makeup look ten times better. They make people wonder what it is you did differently with your look without being too obvious and unrealistic. These contacts from FreshLook were so comfortable and didn't give me any problems at all! I get myself a pair for extra special occasions.
#RealSexyColors was the official hashtag for the event. Very fitting!
And of course, no event is complete without my best friend Alex. She and my mom are my number one fans! Thank you sizzy for being there with me through it all!
A big thank you for the Benefit team for allowing me to be a part of all this! It was such an honor. I always have been and will continue to be a Benebabe forever!


September Favorites


I’ve always been a fan of the "favorites" videos made by the YouTube gurus I subscribe to, which is why I decided to film one of my own! I was a little hesitant at first since like I said in the video, I find it hard to be myself on camera. But eventually, with a little help from the caffeine rush I was on, I just let loose and went about my video as if I was just conversing with my friends about some of the products that I've been loving. I didn’t expect that filming this would be so much fun and hopefully it will allow you guys to get to know me more since I'm not giving makeup instructions in the video for a change.
Here's a rundown of the products I've mentioned in my video:
1. Nuxe Paris Gentle Toning Lotion for Face & Eyes
2. Nuxe Paris Multi Purpose Dry Oil for Face, Body, & Hair
3. Loreal True Match Blur Cream
4. Loreal Revitalift Magic Blur Eye
5. Benefit Porefessional License To Blot
6. Benefit They're Real Push-Up Liner in Beyond Blue and Beyond Green
7. Anastasia Beverly Hills Illuminator in Starlight
8. MAC Prep & Prime Lip Primer
9. LA Splash Lip Couture Liquid Lipstick in Ghoulish

I'd love to know your comments on this new video! Please let me know if you'd like more posts like this one or maybe even some video reviews on products. Also, if you guys have questions on the products I've mentioned, my ask.fm is always open for you! :)

Dream Satin Skin

 If you follow me on ask.fm, you’ll know that I’m extra picky when it comes to foundation. I don’t usually opt for drugstore brands because I’ve had a couple of bad experiences with some brands I’ve tried in the past. That's why Maybelline's new Dream Satin Skin line had some pretty big shoes to fill but in the end, I was definitely more than happy with how it made my skin look! I've found a new favorite and I can't wait to share a few of my thoughts on it and some tips for applying it as well.

Below is the Dream Satin Skin liquid foundation and the stippling brush it conveniently came with. This foundation promised to achieve a perfect satin airbrush finish with a ultra-lightweight, non-oily, and non-pore clogging formula. Let's get started! I had already done a simple eye look, my brows, and applied some lipstick prior to applying the foundation.
  Here's my bare skin. As you can see, I have some blemishes, redness, and unevenness especially by my forehead area.
So start by taking the stippling brush and about a pump and a half of the liquid foundation. I found that this was more than enough for my entire face and neck.
 Start by lightly stippling the product all over your face. Once you've got a good amount of product all over, start blending the foundation in circular motions. Don't forget to blend into your hairline as well! I remember back in my makeup internship, I was assigned to do the foundation of one of the models and I wasn't able to blend the foundation into the hairline properly and it totally showed in the photos! I didn't get into that much trouble, but it did make me learn the hard way to blend extra well around that area!
 Also, apply some product on your neck especially if you're like me whose face is whiter than the rest of my body haha! That's what I get for being such a beach bum. Blend blend blend!
 Once I was done with most of my face, I had a hard time getting good coverage by my under eye area cause the stippling brush was a little too fluffy. But not to worry, I just switched to a concealer brush to apply the foundation in that area and I was really pleased with how the foundation's coverage was good enough to cover my dark circles without the need for concealer anymore. Yay!
The people over at Maybelline recommend using their Dream Satin Skin Two-Way Cake Powder to set the foundation for a perfect finish! This powder has One Film technology which makes it five times thinner than the usual powders available in the market. I'm not a big powder person, but this one really felt so light and breathable. It made my skin super smooth and covered my blemishes even when I used it alone.

When it comes to powders though, I prefer using a brush instead of a sponge for application. I just think it looks more natural and skin-like with the help of a fluffy powder brush. I didn't use too much of the powder to set the foundation, just a light dusting all over. I avoided swirling the brush against my skin too much as to not move around the foundation. Gentle pats will do.
 And here's the finished look! In person, you can hardly tell I'm actually wearing foundation and powder. The finish was just perfect! It wasn't too matte or too dewy. My only concern was that I got oily after just 2 hours, but it wasn't anything oil film couldn't fix! It's not the most heavy duty foundation for girls like me with oily skin, but it did give me the appearance of healthy, even, and glowing skin. It's coverage is quite build-able for a product with such a lightweight formula.
 Here's a closer shot.
I really recommend you guys try out this new line from Maybelline! The liquid foundation costs only Php 499 and comes in 7 shades while the two-way cakes powder costs Php 399 and comes in 5 shades. Who knows, maybe it could be your new holy grail foundation? As for me, I'm really glad I gave this line a shot! Let me know what you think! :)