Eyebrows 101


So sorry for the late post everyone! Here’s my last post for the year and it’s all about what I think is the most important part of anyone’s face — BROWS. I’m definitely no brow expert but as you can see in my description over there on the right side, I do believe that good eyebrows can sometimes be pretty life-changing. So in this post I’ve included everything I learned from books, Pinterest, YouTube videos, and the kind ladies of Browhaus who have been shaping my brows (and basically life) since I was 16.

Before we get to the fun part of filling them in, it's important to know what the proper eyebrow shape is. Of course all eyebrows vary in shape, but there are a few general rules to follow to achieve a universally flattering shape for all faces.

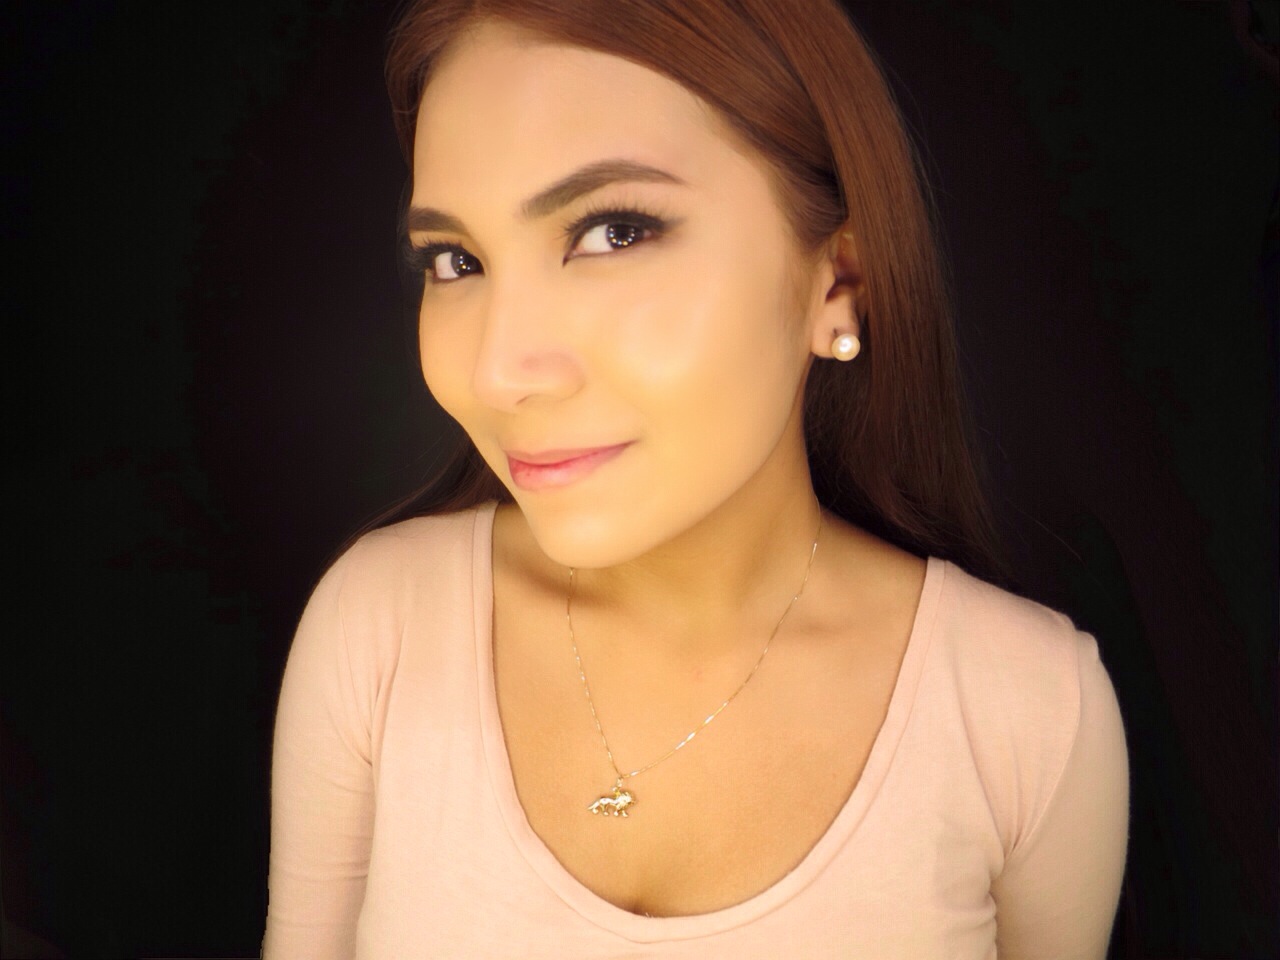
So below is an image of me after I've just moisturized my face. What you'll notice about my brows is that they're not the same color as my hair. The reason for that is cause I don't have my brows dyed when I get my hair done because I learned that it could possibly make your brows thinner over time. I don't take any risks when it comes to my brows haha! But that's okay cause they'll look less black later on.


To determine the right starting point for your brows, take any stick (or in my case I used the end of a thin makeup brush) and make a vertical line following the bridge of your nose. Your brows should begin to fade in right around here. To avoid making it look like a unibrow, make sure it starts out very light and gets more defined as you reach the tail. Others might argue that brows should start along the line following the edge of the bottom of your nose, but the way I was taught was to always follow the bridge. Plus, I think everyone's brows would look too far apart if we all followed the outer edges of our noses.


Next, to determine where the arch of your brow should be, create a vertical line from the outer edge of the bottom of your nose and create a diagonal line that goes through the outer part of your iris. Make sure you are looking straight into the mirror while you are doing this step. Your arch should also rest right along your brow bone. As much as possible, try to follow the natural shape of the top line of your brows.


And finally, to determine the end point of your brows, create a line from the outer edge of the bottom of your nose that also passes through the outer corner of your eye. That line is where your brows should end.


So now that you all have a general idea of how your brows should be shaped, it's time to get to filling. The thing is, I don't use just one product to fill my brows. I believe that  you can't have the same filled-in brows for every look. Each makeup look/peg requires a different approach to filling in your brows. For example, you wouldn't use a brow pencil with a natural finish to recreate let's say, Katy Perry's strong brows. 

So i'll be showing you three of the methods I use for three different looks: everyday, weekend, and evening.


First look: Everyday Makeup

For my everyday makeup to school, I usually just apply tinted sunblock and lip tint, curl my lashes, and do my brows.
Since I'm usually running late, my makeup needs to be done as quickly as possible. That's why I opt for brow gels/mascaras for my everyday look since I'm not really after a lot of definition, I just wanna turn the hairs of my brows brown to match my hair. It's my major pet peeve when brows don't match the person's hair color so I never skip this step! My favorite brow mascaras are from MAC, Bobbi Brown, and Majolica Majorca. I suggest using brow gels if you're lucky enough to be born with naturally thick brows that don't need a lot of filling in.

Second look: Weekend Makeup
. My weekend makeup is just a more polished version of my everyday makeup. Aside from filling my brows, I just add a few coats of mascara, tightline my upper lash line, lightly contour, and wear lipstick.
During the weekends when I have more time to spare, I opt for my Shu Uemura Hard Formula Eyebrow Pencil, which I call the greatest eyebrow pencil in the world. I'm not kidding, this thing is amazing. It's even sharpened like a samurai sword so that you can be really precise in filling in your brows. Also, what's amazing about this brow pencil is that it only releases pigment on hair, so it solves my problem of black eyebrow hairs showing through. 

For best results, this brow pencil requires a light hand.

Third Look: Evening Makeup

Evening makeup requires the most defined brows. That's because lightly filled brows can easily get overshadowed by heavy eye makeup. So to get the job done, I always use my MAC Fluidline Brow Gelcreme with an angled brow brush. I love this product because it also allows the hairs on my brows not to look black and at the same time, it acts like a brow gel that holds everything in place. It also lasts long so it's perfect for a long night out.

For perfectly shaped brows, once I fill my brows in, I do make sure to use the brush you can usually find on the other end of a brow comb to get a really clean shape and then I trace my brows with concealer. I also add some concealer under my brows for an additional highlight on my brow bone. Then, I blend it all out with my Sephora Pro Airbrush Concealer brush for a well-blended finish. And finally, I seal it all in with loose powder so it stays in place.


And that's it! Happy New Year to all of you and I'm wishing you all super strong brow game for 2015 :)

     Holiday Glam Tutorial

I never thought it would be so hard to film a tutorial since everyone knows I speak fluently in makeup lol. Let's just say my OC tendencies got the best of me and I ended up taking much more time to finish this tutorial than I thought I would. But finally after weeks of searching for the perfect lighting, editing, and attempting to make my voice sound more professional (HUHUHU), it's ready!
This makeup has always been my go-to night out look and I realized that it would also be perfect for any Christmas or New Year party as well. Dark berry/burgundy lips are the trend this season, but since I used mostly neutral tones for the eyeshadow, then you may feel free to change up the lip color to something more nude, pink, or basically almost anything! You can even go for the almost black lip ala Rihanna if you want. Click here or on the video below if you wanna watch it on Youtube! :)


Like I said in the video, you can pair the look with any hair you prefer. I always like to go for waves whenever it's a special occasion.


And I know a lot of you hate it when your eyes look small, but don't worry cause even if the eye makeup was made to lengthen the appearance of your eyes, I notice that my eyes still always look very awake in photos.


Hope you all enjoy the tutorial! 


    Dewy Skin With Laneige

Dewy skin is definitely one of my favorite makeup trends for 2014. I’ve never been a fan of any makeup base that offers a matte finish because I personally think makeup looks best when the person’s skin still looks like real skin even if you’ve put 937382 different products on it . I don’t know, I just find it kinda old school and creepy when the person you’re talking to looks like a porcelain doll HAHA.

Thankfully, the Koreans came up with the Laneige BB Cushion which is now my holy grail of all BB creams. This product is 5-in-1 because it protects with SPF 50+, covers, hydrates, soothes and brightens. But the best part is that it gives me the best dewy finish without feeling heavy, sticky or greasy. Also, it’s sweat proof! Sounds too good to be true? Well, believe me, it has passed the ultimate test: a whole day in the oven called Ateneo.

What sets it apart from your typical BB cream (wherein you fail at getting the perfect pea-sized amount out of the tube 99% of the time lol) is that it comes in a unique cushion form which will enable you to get just the right amount of product every time. Thank God for the brilliant soul who came up with this cushion idea because if you’re like me, then you understand the struggle of trying to squeeze out every single drop of BB cream from a tube. It aint fun.

Here's what the Laneige BB Cushion Looks like.


The packaging is a little thicker than most powder compacts because inside is the special sponge and separate air-tight compartment for the air cushion that has all the BB cream in it. Take note that it comes with a free refill. YAAAAY.


The first thing I do before applying any makeup is to prep my skin. Since I was going for a dewy look, I decided to use my new favorite Shu Uemura Tsuya Skin Youthful Crystal-Transparency Lotion all over my skin because it was specially designed to give skin a youthful radiance. I also already had my eye makeup and eyebrows ready before working on my base so that you guys could see the whole look come together.


Once my skin is prepped, I then take the special polyurethane sponge and lightly pat it on the air cushion that holds all of the BB cream. The sponge is super soft and you can be sure that it will pick up just the perfect amount of product every time.


I then start patting the loaded sponge all over my face. It makes application look even and flawless. No other brush can give you same results. And another great thing about this BB cream is that you can build it on if you prefer more coverage but you never have to worry about it looking cakey or feeling thick.


This is what my skin looked like after the application. I was really happy with the coverage even if I just used one thin layer of the product. It was already enough to cover my dark circles, blemishes, and redness around my nose.


If you're happy with how your skin looks then you can stop here, but personally I like to add highlighter just to make the skin glow even more. 

Here I'm using Benefit's High Beam which is a liquid highlighter because liquid on liquid works better than going for a powder highlighter on a liquid base. I just put 3 small dots on the high points of my cheekbones and blended this out with my ring finger all the way up to my brow bone. You can also apply a small amount on the bridge of your nose and cupid's bow -- basically any part of your face that would naturally catch light.


Lastly, I just finished the whole look with a sheer pink lipstick. 


So that's it for my take on the dewy look! It was really so easy thanks to the amazing people over there at Laneige. The price of the BB Cushion is pretty reasonable at P1,995 considering that it comes with a free refill pack. Each pack should last you 3-6 months depending on how often you use it. But personally, I've never found a need to retouch throughout the day so I feel like you'd really be getting your value for money with this one. I would really recommend this product for anyone looking for a fuss-free and naturally radiant look everyday. :)

Ursus et Cervus & Whitefield

Recently I was able to work with the amazing Kara Chung again, and this time it was for a lookbook shoot for the brands Ursus et Cervus and Whitefield. The model for the day was extra special because it happened to be my best friend Carmela! She’s definitely one of my favorite faces to work on. Second to my mom, of course haha.


So for the look, Kara wanted a bold lip that would go well with the clothes. But since the brands were all about streetwear, I kept the eye makeup really natural because I wanted something that still appeared effortless. Here’s the finished look:


I applied a thin layer of Chanel’s Perfection Lumiere Velvet foundation on Carmela for a matte finish that doesn’t appear dry or cakey and contoured her face soflty with Soleil Tan de Chanel bronzer. Then I filled her brows in using brown powder instead of pencil to make sure it wouldn't look harsh at all.


For the eye makeup, I kept it natural using a soft brown shade that would just give the slightest appearance of a deeper eye socket paired with a slightly shimmery nude shade on the center of the lid.

One of my favorite tricks is to simply apply a pair of really natural looking falsies and just tightline the eyes instead of applying eyeliner on the lids so that the eyes look defined without it being too obvious. Some people don’t even notice that the falsies are even there!


And lastly, the lippy I used was Dark Side by MAC which is a deep burgundy shade. 


Do try to check out Ursus et Cervus and Whitefield! And thank you Kara for the photos! :)

   Soleil Tan de Chanel


I finally got my hands on one of Chanel's most popular makeup products, their Soleil Tan de Chanel bronzing makeup base! I've watched so many tutorials featuring this product and it never fails to be such a crowd-pleaser. So naturally, I had to buy it and see what all the fuss is about.


For starters, the packaging is so prettyyyy. Simple yet classy, like everything from Chanel.


Soleil Tan de Chanel is described as a cream-gel bronzer that you can wear under or over your foundation to leave your skin with a sun-kissed look. But since I'm already a big beach baby, then I usually don't have a problem trying to get a tan.

That being said, I did some research on whether or not you can use this product for contouring instead of all-over bronzing and it turns out that you can! So the look I'll be doing is Soleil Tan de Chanel used as a cream contour.


So here's a picture of me without the contour


My main issue with this bronzer was trying to get it on the brush because it has a thick kind of cream consistency. But after testing out several kinds of brushes, I found that a dense angled brush was able to give me the best results. To start, I loaded up my brush with the product by lightly swirling it on the bronzer. Using a denser brush makes it much easier to actually get some product on it.


Then, I started sweeping the brush by my temples right above my eyebrows and then worked my way into my hairline. Once that part is done, I then move on to sweeping the brush along the natural contours of my face. If you're having trouble looking for it, just feel out where your cheek gets hollow below your cheekbones.

Once I finished, I ended up with this harsh looking contour. BUT DO NOT FEAR CAUSE...


I used a MAC 187 Stippling Brush to blend blend blend! I used super soft circular motions with the brush to make sure there weren't any harsh edges. I really can't think of any other brush that can get this job done right. Be sure not to skip this step unless you wanna look like Maleficent. Lol.


 Once you've properly blended everything out, you should end up with a natural looking contour like this  


And if you wanna add even more definition to your face, then you can even run some along your jawline. 


And finally, here's the finished contoured look. 


The problem I usually have with bronzers is that they end up looking quite orange or muddy looking on my skin after a few hours. But what I love about Soleil Tan de Chanel is that it comes out really natural and adds just the right amount of warmth and definition to my face. I wore it for a couple of hours and it didn't fade, melt, or move around. I'm really glad I got this product cause it's really been stepping up my cheekbone game.

The only downside to this product is that it's a little pricey. I purchased it during my recent Guam trip and got it for $48 which is roughly around P2,200. But I believe it works for most skin tones so if you're interested in achieving either a sun-kissed or a more chiseled look, then Soleil Tan de Chanel is definitely a great option if you want to be sure you won't end up having a cheap looking tan or worse...end up looking like a carrot.

   Portfolio : Kara Chung

Here are a few photos from a shoot I did for the very talented Kara Chung. I was lucky enough to be able to do the makeup of Sam Rodriguez!


Here's her before shot. As you can see, Sam already has such a pretty face even with nothing on.


So for the makeup, I had to keep in mind that Kara was going to take some black and white shots as well. This made me decide to do a sultry look for Sam's eyes that would still be able to stand out even in the black and white shots. I also focused on contouring but I used a liquid contouring method instead of my usual powder contouring to keep it super subtle. And lastly for the lips, I just went for a wine-stained look using MAC's Red Dwarf for a lip that's still pretty bold but not as intense as a full-on red lip. Here's the finished product:


And I super love how the other shots turned out!


Thank you Kara for the photos! 

Shupette


  Last Saturday, I was invited to a Shu Uemura Master Class featuring their Holiday Collection for this year called Shupette, which is a collaboration with Karl Lagerfeld. It was actually my mentor Ms. Claire Diokno, one of their master make up artists, that invited me to participate. And what better way to participate than to be the face that she gets to do the different looks on? Aka model yiheeee.


        So if you're wondering why the collection is called Shupette, it's because Karl Lagerfeld's inspiration for the collection was none other than his beautiful blue-eyed Birman cat named Choupette. Choupette isn't your ordinary cat for she holds the title of the world's most fashionable feline. Bow down.


        That being said, the Shupette collection is all about achieving a different take on the classic cat eye with the help of Karl Lagerfeld's Parisian chic influence. What you get is a really unique Tokyo-meets-Paris collection, with the usual super cute packaging that Shu Uemura is known for coming up with. And of course, they just had to include several shades of blue eyeshadow as a tribute to Choupette's striking blue eyes.


Here are some selfies Ms. Claire and I took after the Master Class featuring the store's perfect lighting hehehe. The Shu Team had me wear cat ears, a bow tie, and a pin of Choupette.


This is the entire collection, complete with a super cute Choupette pouch if you purchase everything.


I was lucky enough to take home some of the Shupette products, including the Eye-Need-Shu trio 01 which includes "Shupette Blue" and the Rouge Bonbon Fantasy Trio 01 - a lip palette of 3 luminous candy colors. I also got the Eye-Need-Shu liner in Midnight Black, which is a black pencil with deep blue glitter pigments.


 I couldn't wait to try the products out so I decided to do my own take on a cat eye.


Below is a close up of my eye. I just used the black liner to draw a winged tip then softened it using the darkest blue eye shadow with an angled liner brush. As expected, Shu Uemura's color payoff never disappoints. The shadow is highly pigmented while still being super easy to blend. No primer needed!

I then decided to play with the palette a bit more by using all 3 blue shades on my lower lash line, going from darkest to lightest as I approached the inner corners. I also lined just 1/3 of my outer lower lash line to make my eyes appear bigger. A great trick I learned from Ms. Claire is to wet your eye shadow brush when applying a shimmery eye shadow if you really want to intensify the shimmer even more. That's exactly what I did for my lower lash line to really make my eyes stand out. And of course I put some falsies on for more drama.


I was honestly so surprised at how wearable the blue eyeshadow turned out to be. Since I'm a guilty Naked Palette addict, I don't normally wear colored eye shadows anymore. But i'll definitely make an exception for Shupette.


For the lip palette, all 3 shades complemented the blue shadow really well. The lip shades feature an oil base lip 

formula developed by Shu for vivid color and luminosity. I took pictures with all 3 shades to show you all how they

can change up the look.


The first shade I tried was a very soft pastel pink which made the look quite girly and flirty.


If you want to be a bit more playful, then the hot pink shade/fuchsia shade would be a great option. 


And lastly, the palette comes with a deep red if you wanna make the look more vampy. This would be great as an

evening lip!


For all the products I used here as well as the rest of the collection, you guys should definitely check out the 

Shupette collection at any Shu Uemura branch!


The Comeback

        The last blog entry I ever posted was in November 2012. If you followed legenczari.blogspot.com, then you might remember me as an awkward 16-year-old fashion blogger-slash-beauty junkie. If you don't, then thank God. I was all over the place with my posts. Originally, Legenczari was a fashion blog, but later on I decided to add a few makeup tutorials here and there with everything I learned from my summer-long internship for Shu Uemura. But before I knew it, I was posting fewer entries on my outfits and more makeup tutorials. I have always enjoyed putting on makeup, but it was then that I truly realized that it would always be closer to my heart.

         At some point, I had to think about in which direction I wanted to take my blog. It felt like it would be such a waste to stop the outfit posts altogether, but I wasn't even sure if I wanted to go on with my overly girly looks or if I wanted to start unleashing my inner BadGalCzaRiri (spoiler alert: I did. Lol.) And more importantly, deep inside I knew that makeup tutorials were really what I loved doing more.

        I wasn't terrible at making them, but I had my doubts on whether or not they were good enough. Up to now I cringe whenever I look back on those Selena Gomez makeup tutorials I used to be sooo proud of. My eye shadow game wasn't so strong back then and OMG don't even get me started on my pre-Browhaused brows. To cut the story short, all the confusion and doubt made me lose the drive to post anything at all.

          Even if I thought my beauty blogger dreams were over, luckily my love affair with makeup didn't end there. During my 2-year hiatus, I was just as eager to learn. So I promised myself to improve through books, seminars, and of course, countless YouTube videos. I then took it to the next level by volunteering to do makeup for my friends and family -- which ended up being great practice for me. 

          Eventually, I gained a lot of confidence in my skills. I wasn't so scared to blend out eye shadow or apply false lashes or even draw the ever so time-consuming, perfect 45-degree winged eyeliner anymore. I started taking on real clients and began to expand my makeup collection. Once I entered college, more opportunities came for me to be able to make a name for myself as a makeup artist. And hence, #legenczaribeauty was born! Yaaay!

        Then a few months ago, I had this crazy thought that maybe that once awkward 17-year-old beauty junkie can actually become a self-proclaimed beauty guru just like I had always hoped for. It took up a lot of my time as well as a lot of help from my family and friends, but here we are now 2 years later, and I could not be more excited to launch the new and improved Legenczari.com, complete with tutorials, reviews, and more!

         My only hope for this blog is that it may get girls to appreciate makeup the way that I do. It shouldn't be worn as a mast to make people think you're someone you're not. For me, makeup should help you learn to love everything you were born with instead of hate all the things you were born without. And just because someone loves makeup, it doesn't necessarily mean she's insecure and doesn't feel beautiful without it.

        So ladies, I hope you wear makeup to express yourself, to have some fun and be creative by turning your face into your own work of art. But most of all, I hope you all wear makeup for yourself, because it makes YOU happy, not for anyone else. And that's exactly what I'll be here for: to make sure that any girl can feel, well, legendary.