TV 100 App

Hi guys! Just wanted to share a great app I’ve been really enjoying for the past few weeks. The TV 100 app has a lot of different kinds of shows and videos for everyone, but my favorites are 2 of their original shows ON FLEEK which features hair makeovers, and the TV 100 Tutorials which showcases a series of “How-to-do’s”.
How-to videos played such a huge part in educating me with makeup and hair, which is why I really treasure apps like these that allow me to gain even more knowledge on different techniques, trends, and of course, tips! I really recommend that you guys download this app and explore it. I love checking it out during my breaks haha! Hopefully, you guys enjoy it as much as I do!

Maybelline NYFW Interview with Georgina Wilson!


As you can see, I came to my final Maybelline NYFW challenge extremely nervous and excited at the same time. The top 15 finalists had been tasked to interview Georgina Wilson and have a whole chit chat about makeup, travel, and of course, Maybelline!

I had a whole set of questions prepared on my phone, but the conversation with Georgina really just came so naturally. As surprising as this may seem, it’s not very often that I get to talk to people who speak fluent “makeup” as I do. As soon as Georgina and I got worked up talking about makeup, all my nerves magically disappeared and I just felt like I was talking to a friend and fellow makeup addict.

That morning, it took me a good 30 minutes before I could decide what makeup look to wear so the first thing I asked Georgina as soon as we were seated was how she chose what makeup look to wear for that day. She said that more often than not, she just allows the makeup artist for the day to decide but of course her lips are her favorite part of her face to play around with, and we both ended up admitting to not even knowing how many lipsticks we own. Can any girl even really keep count? Haha!

Speaking of lip products, Georgina absolutely swears by Maybelline’s Lip Gradation. Of course I took note of the product so I could get my hands on it! I was dying to find out if she had any lip tips she could share from years of being in the industry, and she was kind enough to share that she uses a lot of lip liners and other products in order to achieve her perfect pout.

I also asked Georgina how it feels like to be the newest endorser for Maybelline. We were surrounded with pictures of Gigi Hadid, Adriana Lima, and other drop dead gorgeous Maybelline girls that afternoon, and upon meeting Georgina up close and personal, I couldn’t help but feel like she fit right in. But beyond that, I loved how much Georgina really embodied the brand, and how she and Maybelline shares the same makeup philosophy as I do.

The makeup quote I live by is: “Give a woman the right makeup, and she can conquer the world.” So I mentioned it to Georgina and asked her if she agreed, and then it was all girl power from there! Like I always say, makeup should be celebrated, and Georgina feels exactly the same way.

She also told me how she believes women should always empower one another and stop the hate. This made me ask about her thoughts on some of the people I really dislike -- makeup shamers. She was surprised to find out that there were actually people like that around, and I went on about how some people have such close-minded ideas about women who love makeup like that women who love makeup are automatically insecure or shallow. You all know how strongly I feel about these people!

Georgina then told me something that will stick to me for a long time. She told me that she’s learned that whenever people try to hate and bring others down, it’s not because something is wrong with you, but with them and that I shouldn’t let what makeup shamers think affect me or stop me from pursuing my dreams. Georgina was totally the image of girl power!

In the end, of course I just HAD to take a Snap with Georgina to commemorate such an amazing experience for me. A big thank you to Georgina for being so kind and generous with her answers, as well as everyone at Maybelline for letting me get this far and for allowing me to #MAKEITHAPPEN!

Valentine's Day Tutorial


It’s finally my favorite time of the year! I always put a lot of thought into what look I’ll be doing for Valentine’s Day. The makeup can never be too much so that you don't scare guys off LOL, but of course I still tried my best to make it very pretty and romantic every year. I also love how it’s the most appropriate time of the year to bring out all the pinks, purples, and mauve shades.

So below is the tutorial I came up with for this Valentine's Day! Hopefully it will make you feel absolutely gorgeous whether you've got a big date or you're flying solo this year. I rarely get to use the shades I used for my eyes since I usually stick to neutral shades, but it was so much fun experimenting and coming up with such a girly look.

Hope you all enjoy this tutorial! For those of you who wanna do something similar, I'm sure you guys will nail this look since it's a lot simpler than some of the other looks I've done.
If you guys have any questions, you may reach me through ask.fm!

Linkage Meu from Cedar Salon


Last December, Cedar Salon was kind enough to retouch my roots as well as let me try an amazing deep-conditioning hair treatment called Linkage Meu which is what this blog post will be all about. This special three-step treatment was created by Japanese brand Milbon and smoothens and softens hair. Aside from being a three-step treatment, what was different about this treatment is that it is also reinforced by home care vials that allow you to sustain the treatment’s effects on your hair. This treatment was perfect for my long hair especially since I have a hard time managing my hair sometimes. But as you probably already know by now, I HATE HAIRCUTS! HAHAHA.

So this was my hair before the treatment. As you can see it was pretty dry, frizzy, and bordering mermaid length.

And here are the Linkage Meu products! There's amino oil to smoothen the hair's surface, a veil that seals in moisture, and lastly a smoothening collagen top coat. Each step has a distinct scent note, making the treatment even more relaxing.


Here I am enjoying my treatment. Cedar salon has great zen-inspired interiors, and they even gave me my own robe to wear as I had my treatment done. The treatment surprisingly doesn't take much longer than usual salon treatments or hot oils. They were done with all three steps in about an hour. Every member of the staff was also really nice and accommodating, even if I could feel how tired their arms were getting from my super long and thick hair hehe.

And for the moment of truth: here is what my hair looked like once the treatment was rinsed off and my hair was blow dried. It was insanely smooth and my hair smelled amazing! They also did a great job with my roots.
 I would definitely say there's a difference in comparison to the usual salon treatments I get. The way my hair moved around was just much nicer in general. The treatment also brought out the color in my hair more.
I would really recommend this treatment especially if you wanna bring life back into your dry and frizzy hair! My hair definitely stayed more smooth and manageable for the next week or so, even after I washed it already. If you wanna give Linkage Meu a shot, you can head on over to Cedar Salon at 200 A Wilson St., San Juan! You may also follow Cedar Salon on FB (facebook.com/CedarSalon) or @CedarSalon on IG and Twitter!


Full Face + Cream Contour


I’ve received some requests on how to use the Anastasia Beverly Hills Contour Cream Palette, so here is a tutorial I’ve prepared for you guys! I've decided to also take it a step further by sharing my overall base routine (foundation, concealer, cream contour) for extra special occasions wherein I want my makeup to look absolutely flawless.

Note that a really good cream contour requires a lot of patience in order for it to not look muddy or unnatural. Good things take time ladies! Hopefully this tutorial will guide you guys so you can achieve a contour that's Kardashian-worthy. You can watch it here:


Sorry if it's a little lengthy, I just wanted to explain every single detail properly for you guys! If you still have any questions though, you could always reach me at my ask.fm!

London Haul!

I know this highly requested video took forever, but I finally finished editing it! Sorry it took so long, aside from the issue of me sounding sleepy that I mentioned in the video, my eyesight has also been acting up so I avoided my laptop for  a while.

Anyway, I hope you all enjoy the video! I’m sorry it’s a little lengthy, believe me, I tried to edit out a lot of stuff I was rambling about, but this is the shortest I could make it.


Full list of products:
1. Primark Cotton Pads
2. Garnier Micellar Cleansing Water
3. Bourjois Flower Perfection Translucent Smoothing Primer
4. Loreal Infallible 24 Hour Matte Foundation
5. Maybelline Instant Age Rewind Concealer
6. Rimmel Wake Me Up Concealer
7. Maybelline Eye Studio Color Tattoo
8. Ardel Individual False Lashes
9. Kiss Haute Couture Individual False Lashes
10. The Balm Mary Lou-Manizer Highlighter
11. Charlotte Tilbury Airbrush Flawless Powder in Medium
12. Charlotte Tilbury Color Chameleon Color-Morphing Eyeshadow Pencil
13. Charlotte Tilbury Lip Cheat Lipliner in Iconic Nude
14. Charlotte Tilbury Matte Revolution Lipstick in the shades Bond Girl, Very Victoria, and Birkin Brown
15. llamasqua Blusher in Naked Rose
16. Illamasqua Cream Blusher in Zygomatic

Loreal True Match Review and More!


Hi guys! Here’s a short review on a couple of Loreal’s products that are pretty new in the market. I’m also sharing some of the photos from the event they held for the launch of these products a couple of weeks ago! It was held in Farmacy at the Fort so of course I couldn’t say no to makeup AND ice cream!

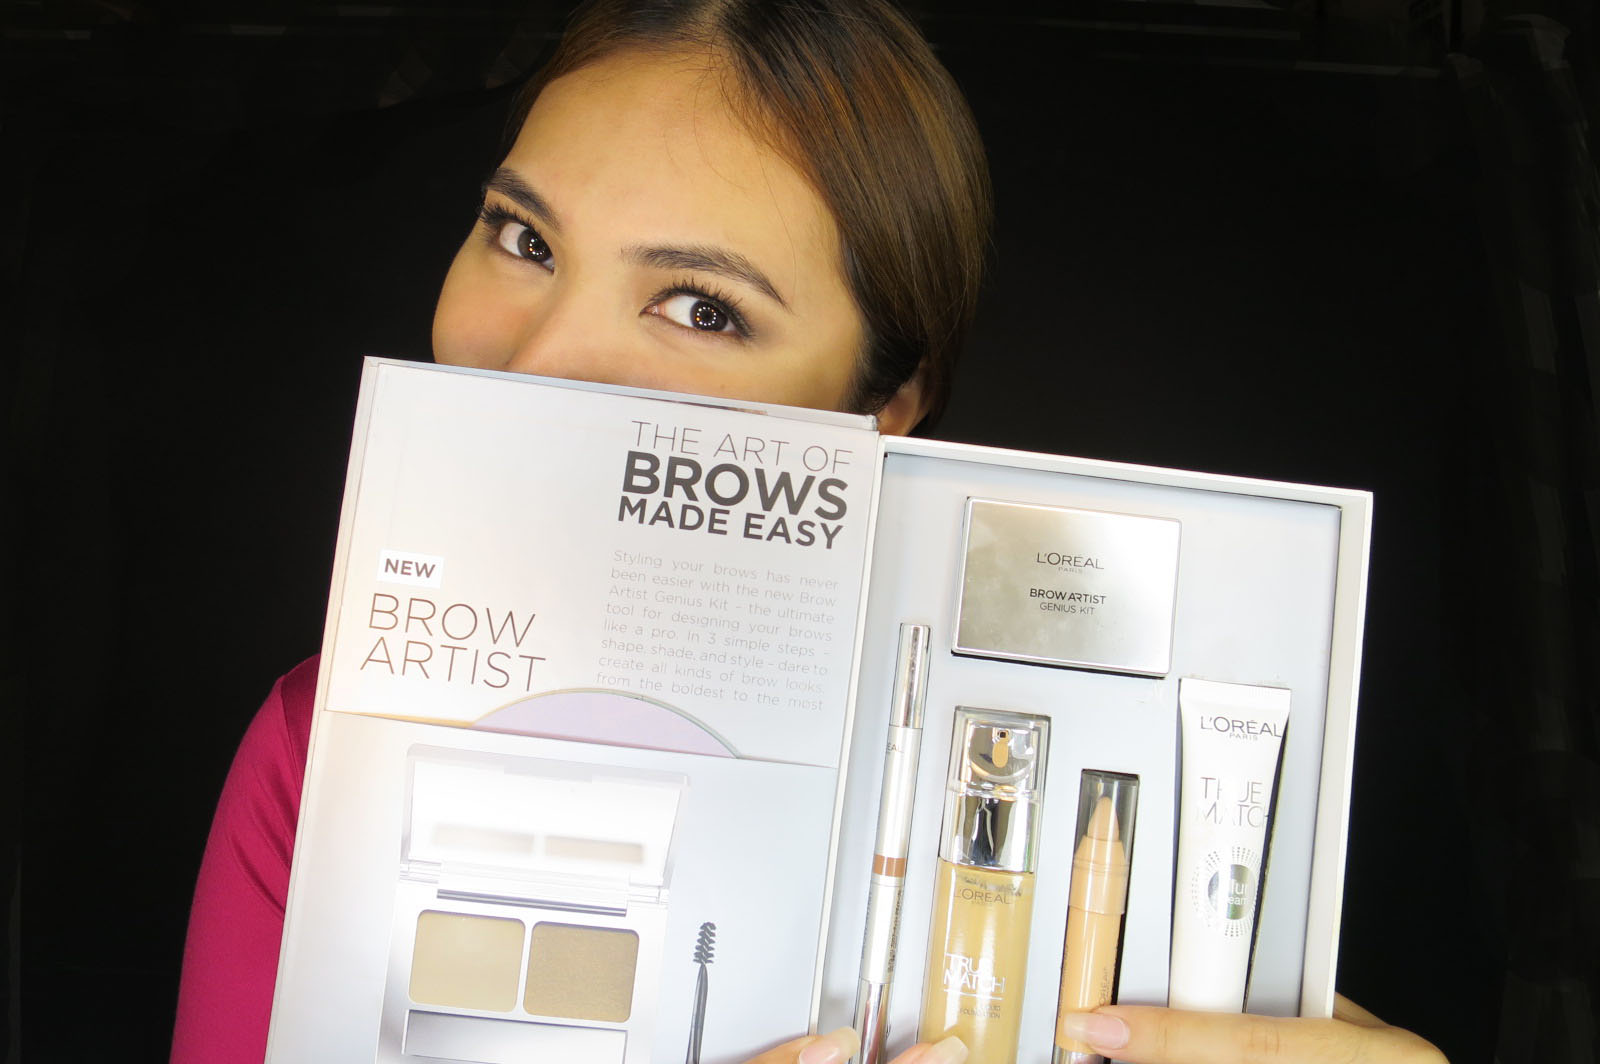
So here are the products I'll be reviewing! For the event, we were given a box without any products yet, and each person had to visit the different stations they set up in order to pick out our perfect shades! Each box contains one Brow Artist Genius Kit, Brow Artist Designer Pro Pen, True Match Liquid Foundation, True Match Crayon Corrector, and their True Match Blur Cream!
Starting out with the True Match Blur Cream, this product was formulated to act kind of like photoshop in a tube for flawless looking skin by smoothing out your skin and even minimizing the appearance of pores. It also doubles as a makeup primer and controls oil so that your makeup can stay fresh longer.
I had no products on my skin before trying this product, I just did my eye makeup and lips! It's texture reminds me of a lighter version of Benefit's Porefessional, but it does have an orangey tint to it that isn't noticeable once your spread it on your skin.
The product goes on evenly and doesn't leave a cast over your skin like some primers. It was able to instantly smoothen my skin, but I think it doesn't minimize pores as good as other primers I've tried. Although for the price, it would work as great primer for someone who doesn't really think their pores are a problem. True Match Blur Cream costs Php 400.
Moving on to the True Match Liquid Foundation, this has always been one of my favorite affordable foundations so I was pleased to hear that Loreal made it even better now! During the event, Loreal had their own BUS just for foundation. It was heaven for me haha!
\
Inside the bus were the new and improved bottles of True Match in a wide variety of shades ranging from yellow tones to even some on the pinker side. You're sure to find your perfect shade!
Loreal's Senior Makeup Artist and beauty expert was also there to extend her help so you can find your true match of...True Match. She was a little challenged with my skin tone cause a couple of shades blended perfectly with me! In the end, we both decided on G4 Gold Beige.
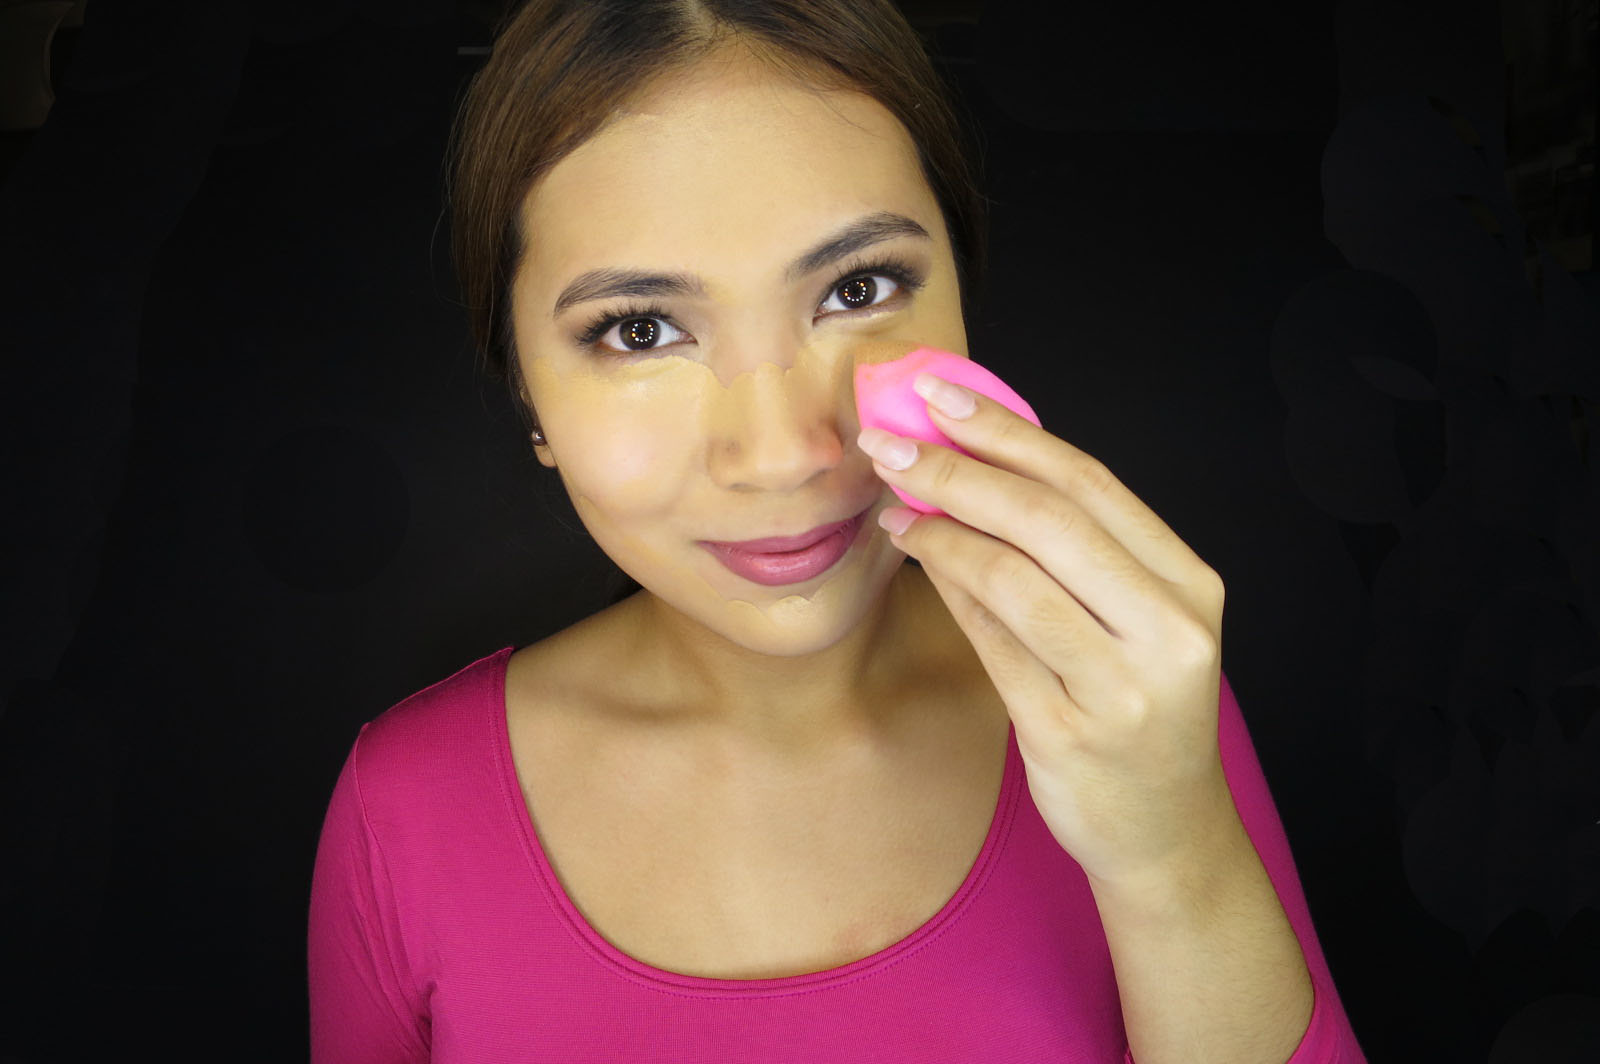
To apply the True Match Liquid Foundation, I used a damp Beauty Blender. I did notice a major difference with the new True Match: it now has some shimmering particles in it. This would be great for photo shoots, but personally, I'm not a fan of foundations that shimmer. Although it doesn't shimmer too much, I still would prefer if it didn't have the shimmering particles just because it can look a little too fake in person. I've said this before and I'll say it again, I like skin to look like SKIN and unless you're a vampire from the Twilight saga, real skin shouldn't sparkle!
But if this isn't an issue for you, then I'm pleased to tell you that the foundation is still great! I found out that it now has 5 special micro-pigments that were formulated to specifically match the skin tones of Asians. I would say that the coverage is medium and is pretty buildable if you want more full coverage, but one layer was more than enough to cover my redness and even out my skin tone. It is also SPF16++ for protection, and I found that it doesn't have flashback even if it has SPF.
For Php 600, this foundation is great if you can get past the slight shimmer it has. I was really pleased with how my skin looked and it felt very light as well. If your skin is on the dry side though, I would recommend applying moisturizer beforehand just to be sure it wont cling on to any dry patches.
Next, we have the True Match Super Blendable Crayon Corrector. Like it says in the photo below, "big to small, conceal them all!" This crayon corrector comes in 6 shades and is Php 500.
Here's a closer look! The tip of the crayon was made for more precise spot concealing, while you can use the sides for larger areas.
I applied some of the concealer on my under eye area first and I didn't expect the consistency to be as creamy as it was. It glided on smoothly which is ideal for an under eye concealer so that you don't end up tugging on your delicate eye area too much.
Then I blended it out with my Micro Mini Beauty Blender since this sponge can make any concealer blend like a dream. The coverage was able to cover my dark circles out super well. Unfortunately, I did notice some caking after 2 hours, even if I set the concealer with powder. :( That's why I use this concealer more for spot concealing blemishes on the rest of my face now instead of as an undereye concealer. It does the job almost like my favorite Laura Mercier Secret Camouflage due to its thick consistency and coverage.
So I would recommend this product for those looking for a concealer for things like acne scars and other blemishes, but not really as an undereye concealer because it did cake up on me.

Lastly, we have some brow products from Loreal!
Starting off with the Brow Artist Designer Pro Pen which is a 3-in-1 brow pen for shaping and shading in your brows. Below is a picture of the two ends of the pen, we have a thin pencil on one end, and a spoolie brush on the other.
Then, if you twist the center, you will find the brow powder applicator for shading in your brows. This was the most unique and interesting part of the pencil!
As I always do, I started by brushing my brows to keep them neat, then I used the thin pencil end to lay out the general shape that I want for my brows. I always start with the lower line to add instant definition and so that I know what arch to follow. I really liked the way this pencil drew on my brows. It looked very natural and soft, especially if you blend it out with the spoolie brush. The shade also complemented my brown hair.
Then I grabbed the Brow Artist Genius Kit, which contains a brow powder, as well as a setting wax to keep you hairs in place, and as well as an angled brush and spoolie brush for applying.
Taking the wax first, I just applied this to the tail of my brows so I could have a crisp and darker tail. Then I set it lightly with the powder. I wasn't too fond of the brush that came with the kit mainly because I couldn't hold it properly with my long nails HAHA, but it did get the job done! Surprisingly, it was easy to draw thin strokes with the brush!
And to finish off the brows, I reached for the Brow Artist pen again, this time using the powder to shade in my brows. The powder was great and even made my brows look more voluminous, but my only comment would be that you should apply it with a light hand because your brows could end up looking too thick if you go overboard with this powder.
The kit costs Php400 while the pen costs Php500.
And here's my finished look! Skin and brows care of Loreal! Overall, I'm really happy with how everything turned out, especially my brows!
Hope you girls find this short review useful and just let me know if you guys have any more questions!